
NOTE: With the release of Version 3.0, the interface has changed. This page is not yet updated to reflect that change.
Click to go back to Byron Optin Form Plugin page.
You received Byron Optin Form Plugin and got it installed using these Install Byron Optin Form Plugin instructions. If haven’t, go back to that page for instructions on how to install.
How do we configure Byron Optin Form Plugin so it builds our email list?
Follow along!
Find my settings:
- In WordPress Dashboard select Settings
- Then select BWOptin Form
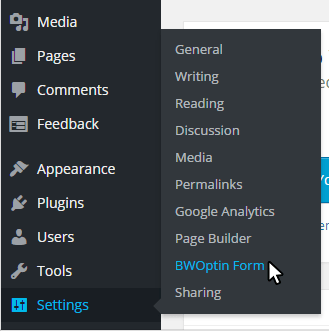
That’s where the settings are!!
Configure Stage One:
- The first thing we need is to enter the value for License Email. Use the Email Address you used when you downloaded Byron Optin Form Plugin.
- For now we leave the License Key field blank. It will be used in a future plugin update.
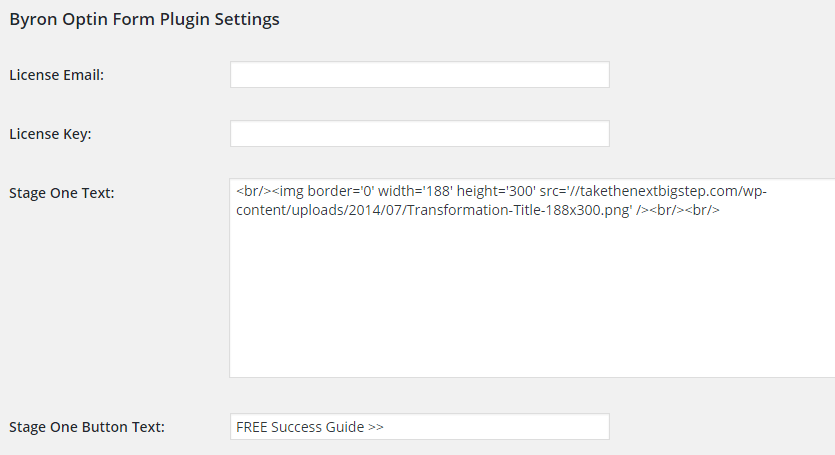
- The value for Stage One Text can be changed to anything you want to display on the first page of the plugin. We recommend an image 188 pixels wide by approximately 300 pixels tall. An example of how to enter this value is provided with the plugin. Change the image url to your own image so you display your own product instead of one of ours.
- The value for Stage One Button Text can be updated to whatever you like. Keep it fairly short so it fits in the form when you display it.
Configure Stage Two:
- Change the text (or image) that is displayed when your user clicks on Stage One.
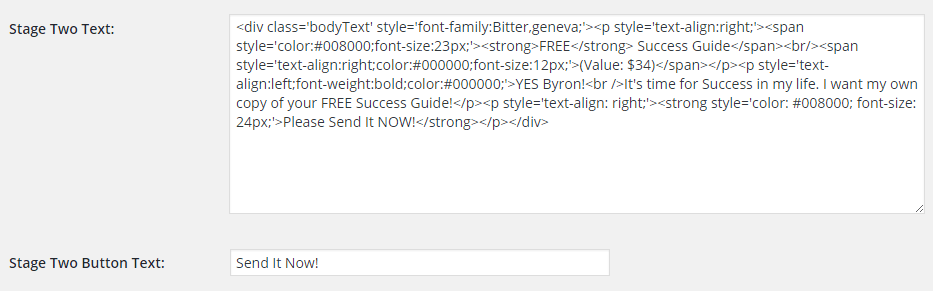
- Change Stage Two Button Text to say what you want it to. Remember to keep it reasonably short so it displays in the space available.
Configure Field Name settings:
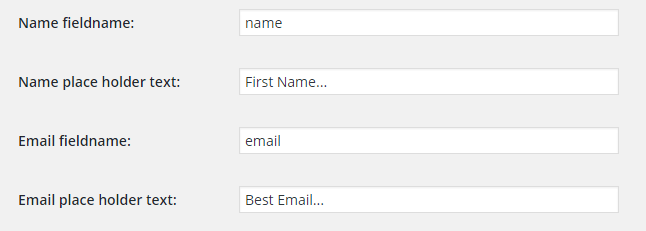
It will most likely not be necessary to make any changes to the Field Name Settings in this section. But if you use field names other than “name” and “email” it will be necessary to adjust them here. Also, if you want your form to have different place holder values (the values displayed before anything is entered in the field), they can be changed here.
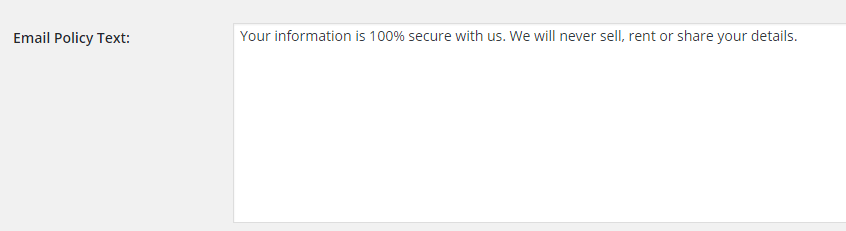
Email Policy Statement
You might want to change the email policy value. If you do, this field can be adjusted to say what you need.
GetResponse Settings
This is one of the most important sections of Byron Optin Plugin. The way the plugin is configured by default, it talks to one of our GetResponse lists. You want it to enter values into your GetResponse.com list.
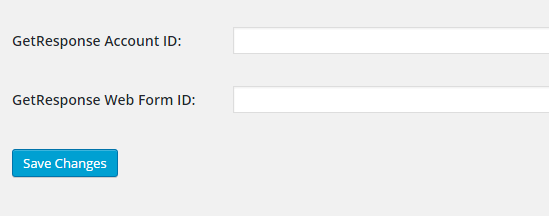
- Set the GetResponse Accound ID to your account on GetResponse.
- Set the GetResponse web form ID that we’re ‘borrowing’. To be properly tracked on the GetResponse system, we need to create a web form on our GetResponse account. It doesn’t need to be pretty or complete, but it does need to include the field names “name” and “email” so that this form matches and it can be used as a front end.
Finding Your GetResponse Values:
- In your GetResponse.com Dashboard click Manage Forms
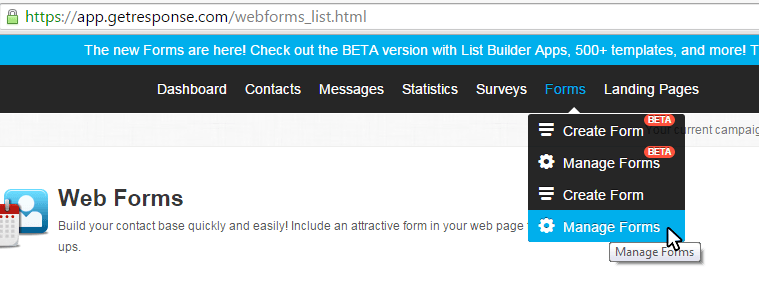
- When you see the list of forms pick the one you’ve created for this use.
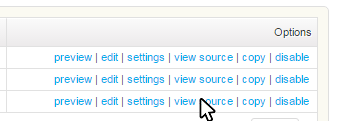
- The values we need appear on this screen.

- The User Value is here:

- And the web form value is here:

Remember: The values you see in these fields will be different that the images because it will be for Your GetResponse list and web form values.